Hair Bow Holder Tutorial
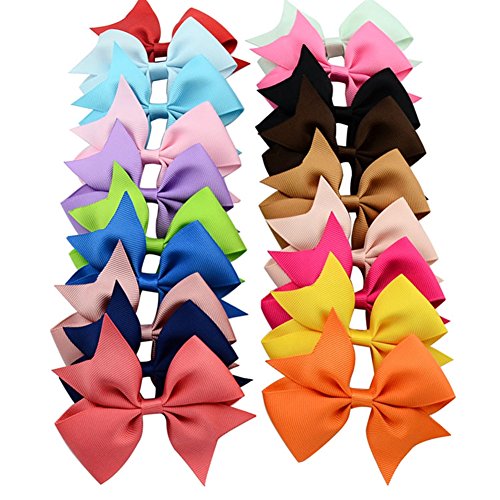
We use a lot of hair bows in our hairstyles, in fact we use them almost daily. My daughter has so many bows! aI like them to stay nice so we hang them on a hair bow holder. I wanted to share this hair bow holder tutorial as it is easy and can be done fairly inexpensively. This tutorial honestly takes about 10 minutes from start to finish. The end result is absolutely adorable.

Items you will need for this Hair Bow Holder Tutorial:

1. Picture Frame that will hold an 11×14 picture. This picture frame from Amazon is very affordable and will get the job done!
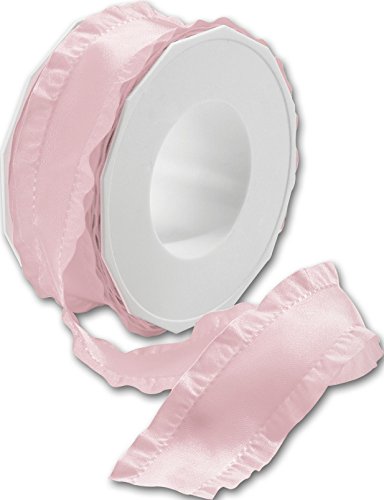
2. Ribbon that is 1 1/2″ wide. You can use any color of ribbon and will need about 3 yards to do this particular craft.
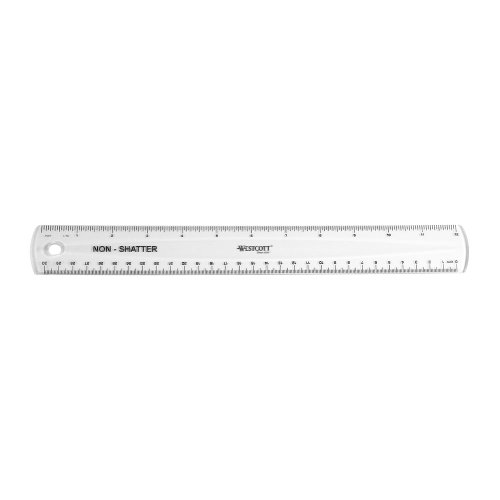
3. Ruler: You’ll need a ruler to measure out where your ribbon will go so that the project looks even when it is all said and done. You’ll also need a pencil to mark the areas you want your ribbon to go.
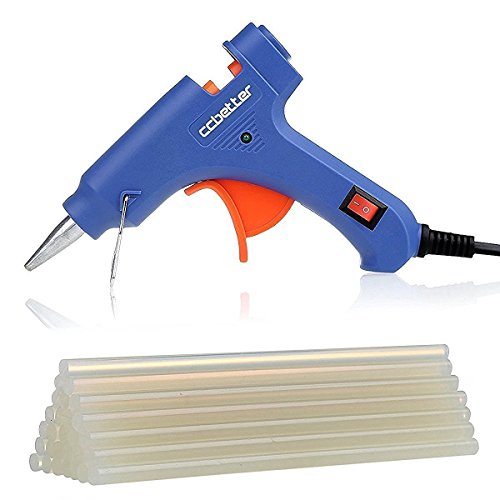
4. Glue Gun and Glue Sticks: We will adhere the ribbon to the frame for this girl’s bow holder using hot glue! I use a mini hot glue gun and also used about 2 sticks of glue from start to finish.
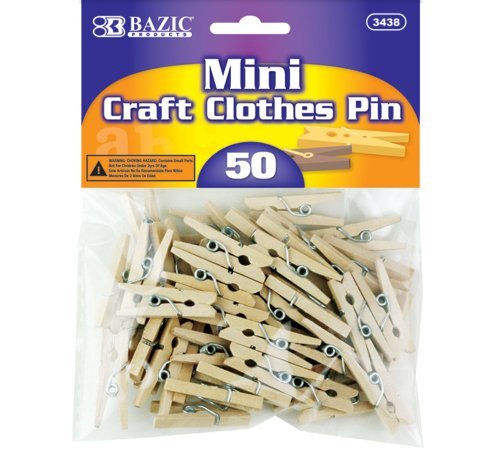
5. Mini Clothespins: These clothespins are great for hanging headbands on this bow holder if you little one uses headbands as well as bows!
&
Ribbons Solid Color – Double Ruffle Pink Ribbon, 1 1/2 CCbetter Mini Hot Melt Glue GunWestcott Non-Shatter Ruler, Clear, 12 Inches,(13862)BAZIC Mini, Natural Clothespins, Wood, 50 Per Pack

Hair Bow Holder Instructions
For this project, you will decide if you want your bow holder to hang in a portrait or landscape view. I chose to do mine portrait because the wall that I wanted it to hang on was small, right behind my daughter’s door.
Next you will measure how how much space you have on the inside of the frame. I had 11″ from one side to the other since I did it portrait side, but if you are doing it landscape, you will have 14″.
The next think you will want to do is cut 3 strands of ribbon, about 1 yard each. If you are doing a landscape bow holder, you may want a 4th strand of ribbon to take up the space. You’ll measure out and mark on the back of the picture frame where you want your ribbon to go so that it is even all the way across. There will be a good amount of space in between each ribbon in your hair bow holder as you need to be able to clip bows on each ribbon.

Pulling your ribbon tight from one end to the next, glue the top and bottom of each of your ribbons to the back of your frame. You want the ribbon to be tight so that your bows will be able to hang nicely. The bottom of the ribbon will hang below the frame which will allow you extra space to hang bows. If you don’t want the ribbon to hang below, simply cut it to fit the frame.

That’s it! When you are ready, hang your bow holder and clip your bows on. instead. If you are looking for new hair bows to hang on your holder, I have a lot of ribbon bows from Amazon. I also buy from small shops on Etsy.
You can also use the mini clothespins to PIN headbands on if you use those. Below you can see a few clipped to the bottom of our hairbow holder. Also, please watch our Facebook Live video at the bottom of the post to see this craft done in real time.

Leave a Reply